What is it?
Illustrator is a software used to create 2D vector files. A vector file is a file that uses lines instead of pixels. When you take a picture with a camera, that camera captures that picture in a bunch of pixels. Pixels are points of light, this means when you change the size of that picture, the pixels will blow up and become blurrier the more you stretch it. A vector file uses lines so you can take a 3in by 3in vector file and blow it up to go on the side of a pickup truck and it will look exactly the same. In IDEA class we are using illustrator to create files that we can print on the laser cutter as well as the vinyl cutter.
Learning Illustrator
|
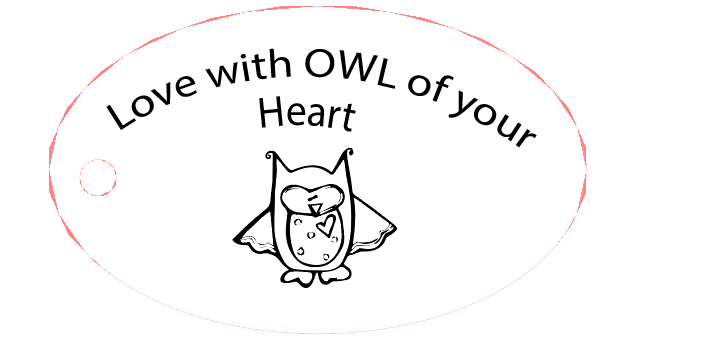
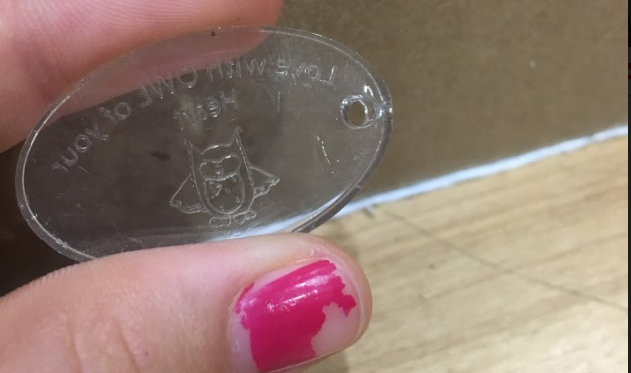
To learn the basics of illustrator we created a small key chain. We got to choose between rectangular, rounded rectangular, eclipse, and star. I made mine an eclipse shape. Then we had to put a photo on it, its better if the photo is black and white or simple grey so its easy for the laser to engrave where you want it to. I found a little black and white picture online. Almost all pictures online are pixel pictures and illustrator uses vector files so after inserting the picture into my key chain I turned it into a vector file. Then I could edit the picture and remove any text or watermarks I didn't want. After getting my pictures and words set I had to change my outline so the laser would know where to cut. The laser will cut any red line with a thickness of .0001 and will engrave any other color. To the right you can see my completed key chain in illustrator ready to be cut by the laser cutter.
|
|
Using the laser cutter
Using the laser is almost the same as using a regular printer expect it could kill you and also burn through almost any material. Also, a regular office printer puts ink onto paper. The laser cutter burns material away to engrave it. Below is a step by step on how to take an illustrator file and print it on the laser.
|
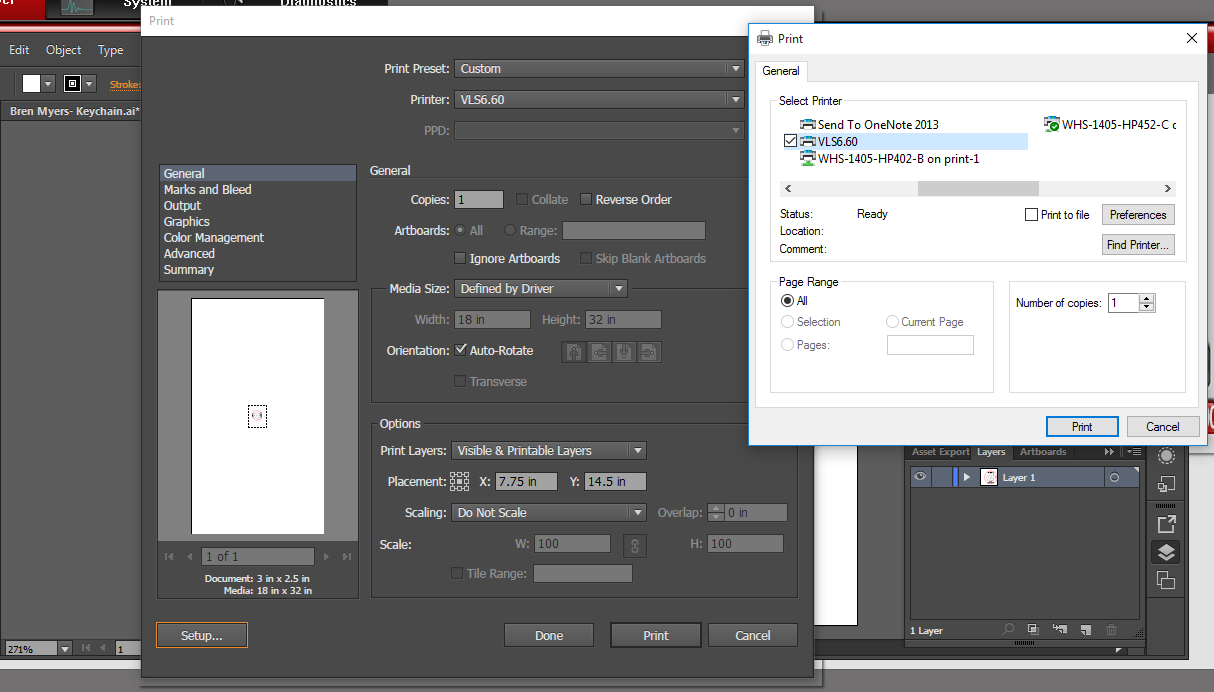
First, you have to put your file on a USB so you can bring it down to the computer attached to the laser. Open the file in illustrator and select file print then switch the printer to VLS6.60 and select set up in the bottom left hand corner. Then click preferences on the second window.
|
|
|
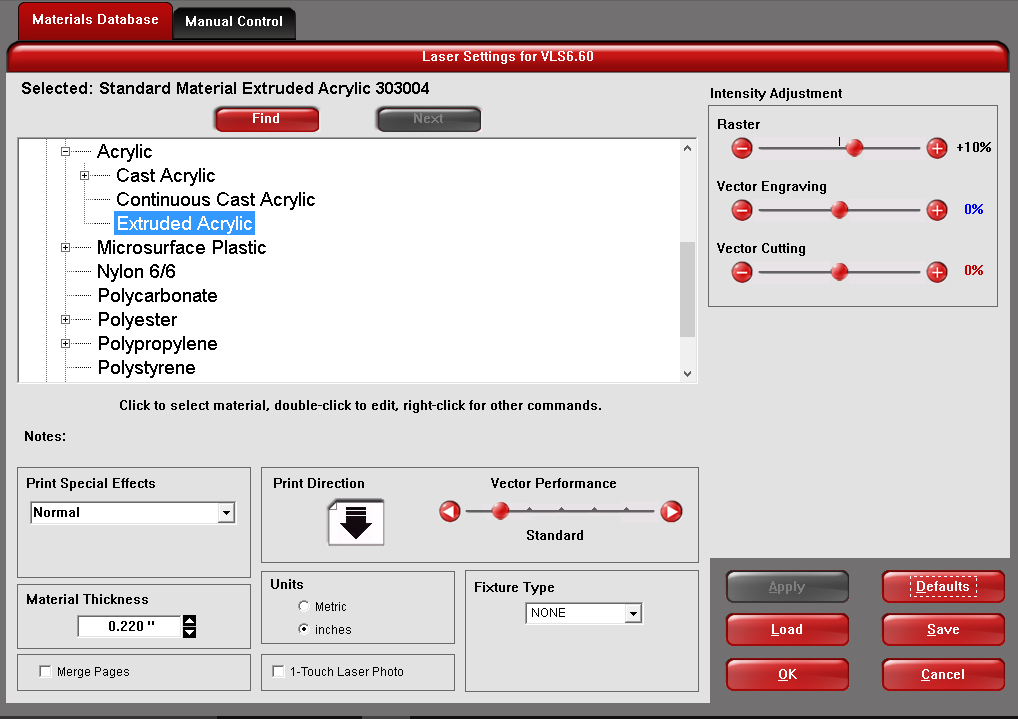
The preferences window will open and you need to make sure you have a couple key pieces of information. You need to select the type and thickness of the material you are using. Then click save followed print on both of the print windows.
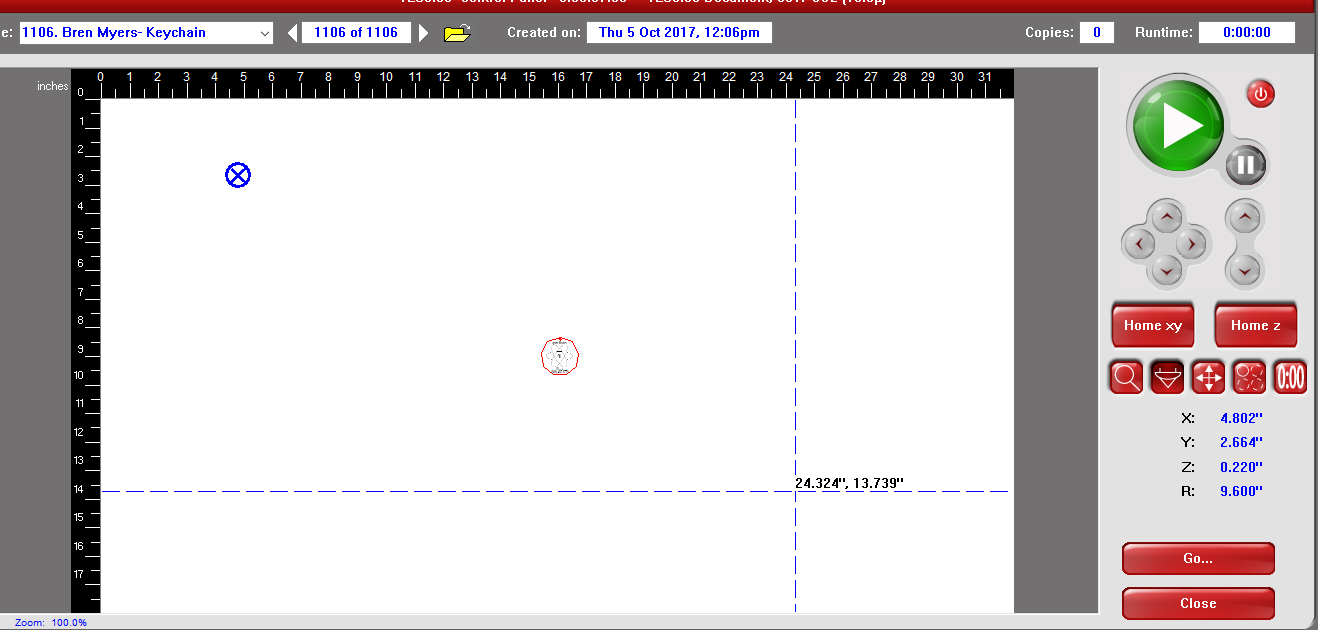
Next this window will open, this white area is the printer bed. Start by flipping the exhaust on(light switch on the wall to the right) to keep the laser tip from burning up. Then click the power button in the top right corner of the screen you see to the left. Finally use the focus and relocate tool to place the image on a place on the laser bed in the place where your material is and click the big green button to print it.
|
|
Vinyl Cutting
|
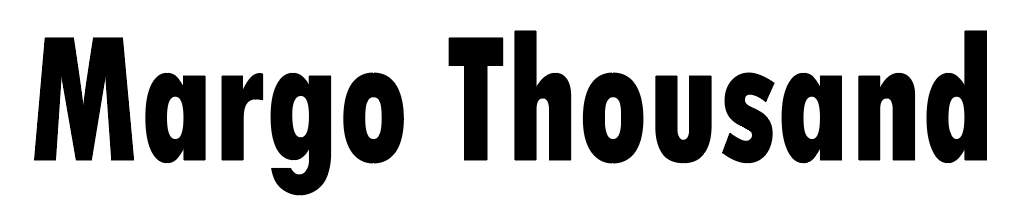
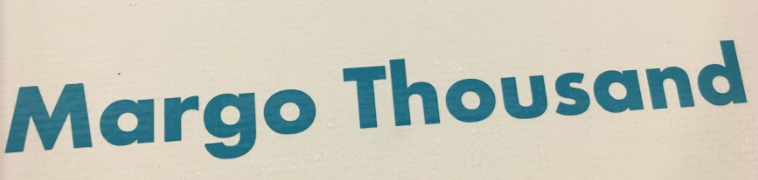
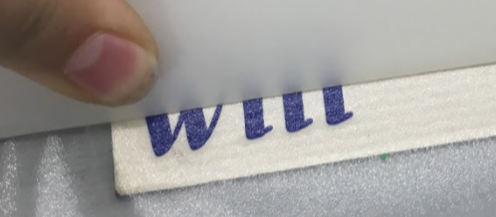
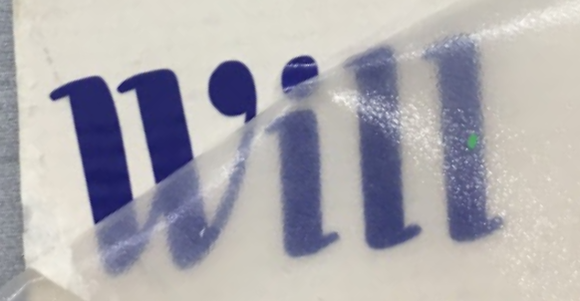
The vinyl cutter also uses illustrator to cut out words and shapes on vinyl. To learn how to print and apply vinyl we cut out our name and put it on a poster board. To the right is a screen shot of what my name looks like in illustrator followed by a picture of the finished product on the poster board. Below is a step by step on how to apply vinyl.
|
|
|
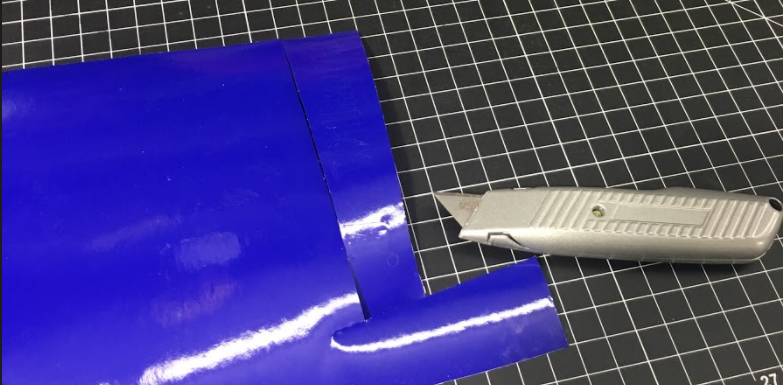
First trim the extra vinyl so there is just a thin border around the picture or text.
|
|
|
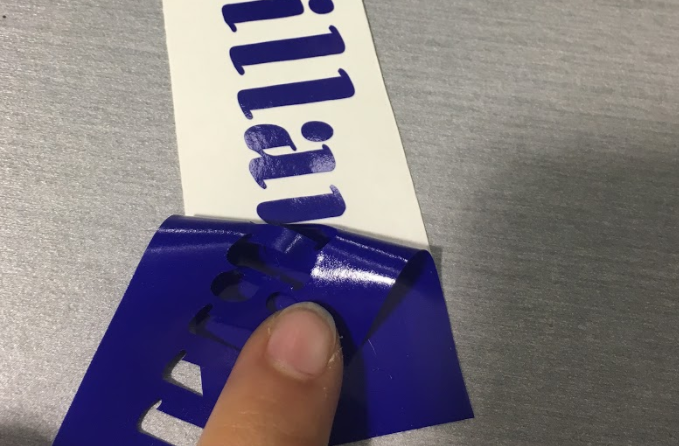
Pull back a corner at a 45 degree angle so the text or image stays on the paper and the extra vinyl peels off.
|
|
|
If any extra vinyl didn't peel off, use the dental tools to pick it so only the image or text is left.
|

|
|
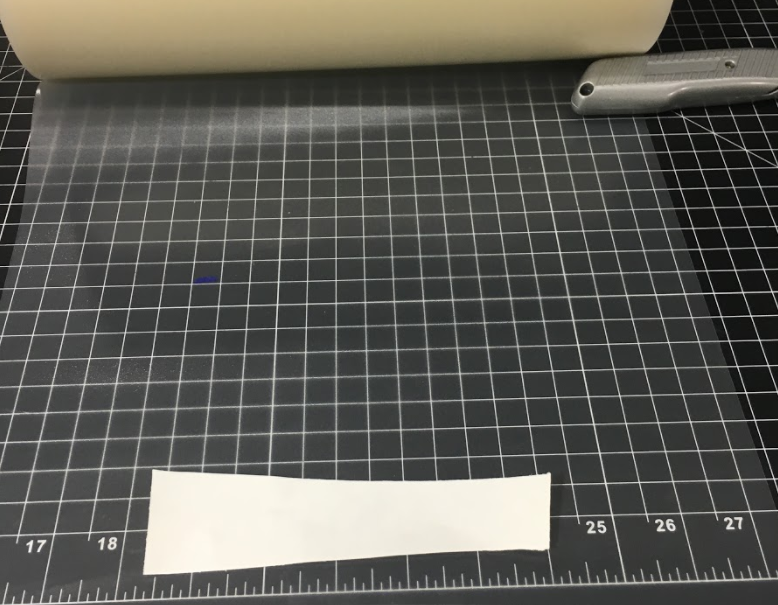
Roll out some application tape and place the vinyl face down on it. Trim off the extra tape and flip it back over.
|
|
|
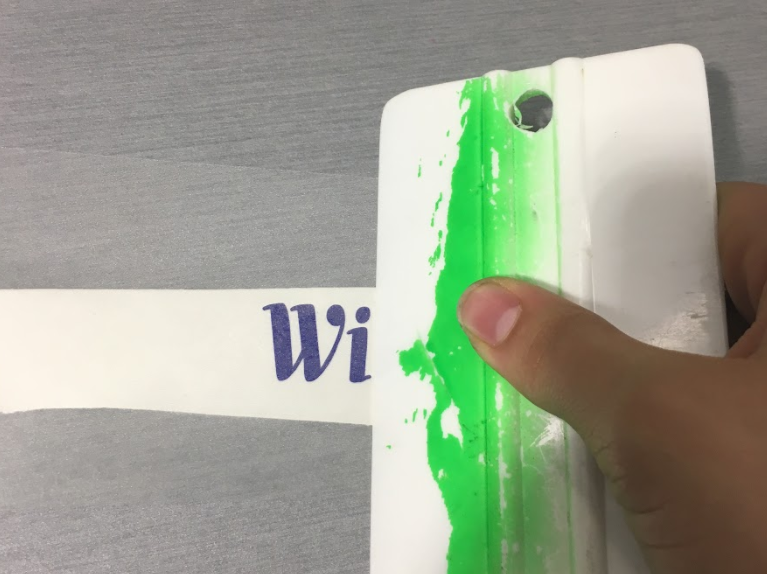
Use the paint tool press thing to push the application tape on. Use force because its force activated.
|
|
|
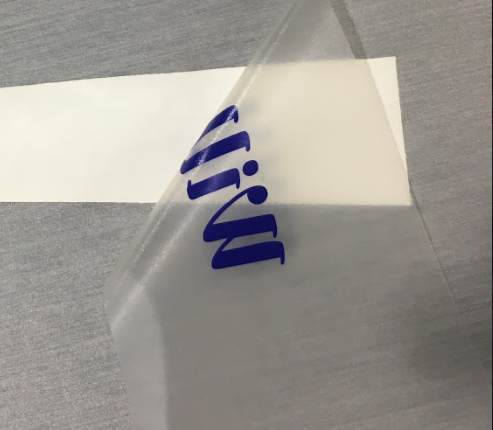
Peel off the tape at a 45 degree angle taking the vinyl with it.
|
|
|
Place the tape on the poster board or the place you want the vinyl to be and use the paint thing again to push it on, make sure its fully on before you pull the tape off.
|
|
What I learned
This unit I used how to set up the laser based on material and thickness. I also learned how to create things in illustrator that can be laser cut or cut out on vinyl. For laser cutting, when you want the laser to cut the line thickness has to be 0.0001 and the color has to be red. All the other colors will tell the laser to engrave there. For vinyl there is a lot of steps if you want it to last a really long time and you have to press really had especially if you image has a bunch of really tight angles. I had never used illustrator before so its really nice to have some experience with it now.
