Inventor
Inventor is a software that allows you to make 2D sketches into 3D objects. anything from a simple box to a car engine, you can bring your ideas to life in inventor. During the duration of this idea class we will be using inventor to create designs that we can print on the 3D printers. The first thing we will print is a small, simple widget. Then I have decided to attempt to create a coin sorter and holder that can hold at least 40 pennies, 40 nickels, 50 dimes and 40 quarters.
Learning the basics
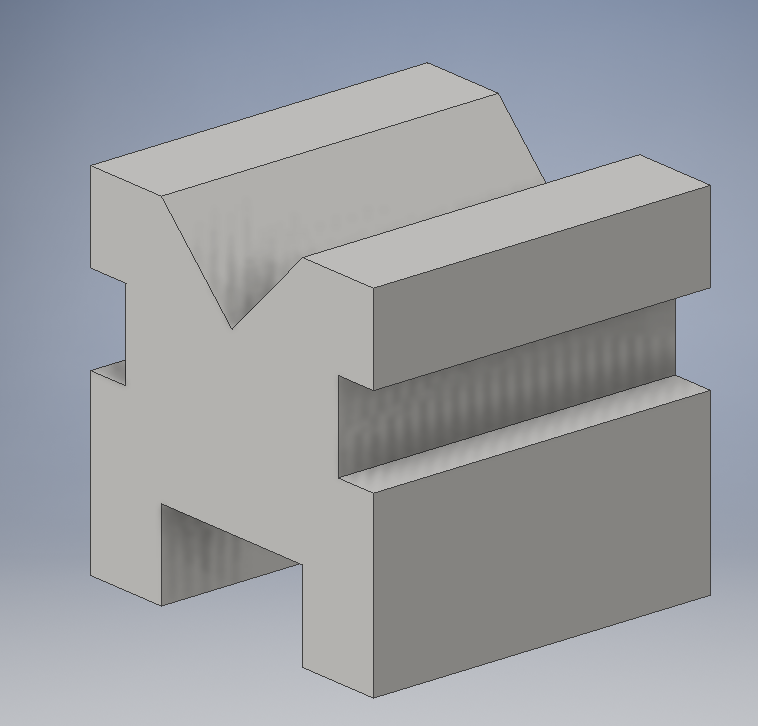
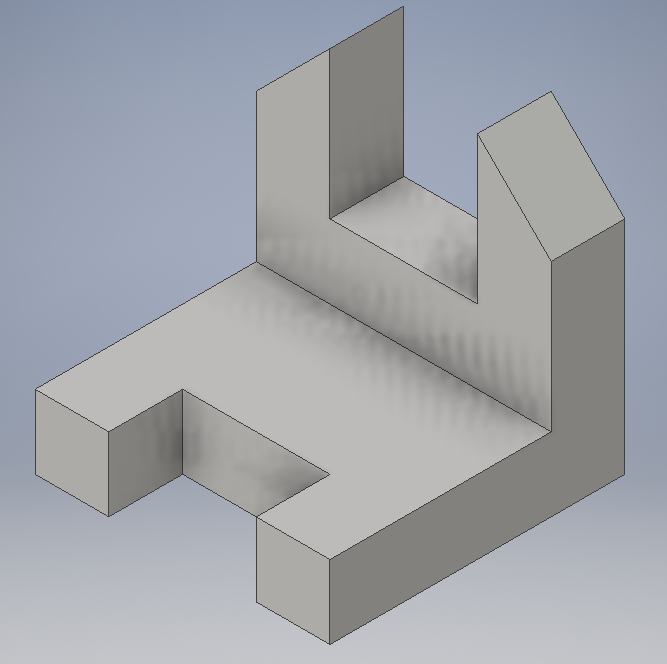
To learn the basics of inventor we first played around making a 3D box, changing the dimensions and making a circle and square whole through it. Then individually we were tasked with creating 6 different widgets as they were sketched out on graph paper. Below you can see a step by step on how I created one on the widgets in inventor.
|
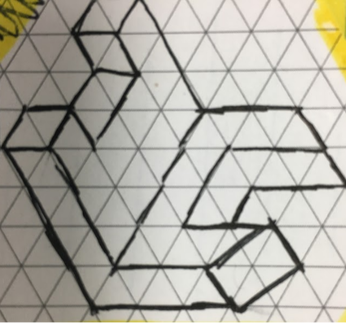
Before creating the widgets in inventor we sketched a couple in our inventor notebooks to better understand the dimensions.
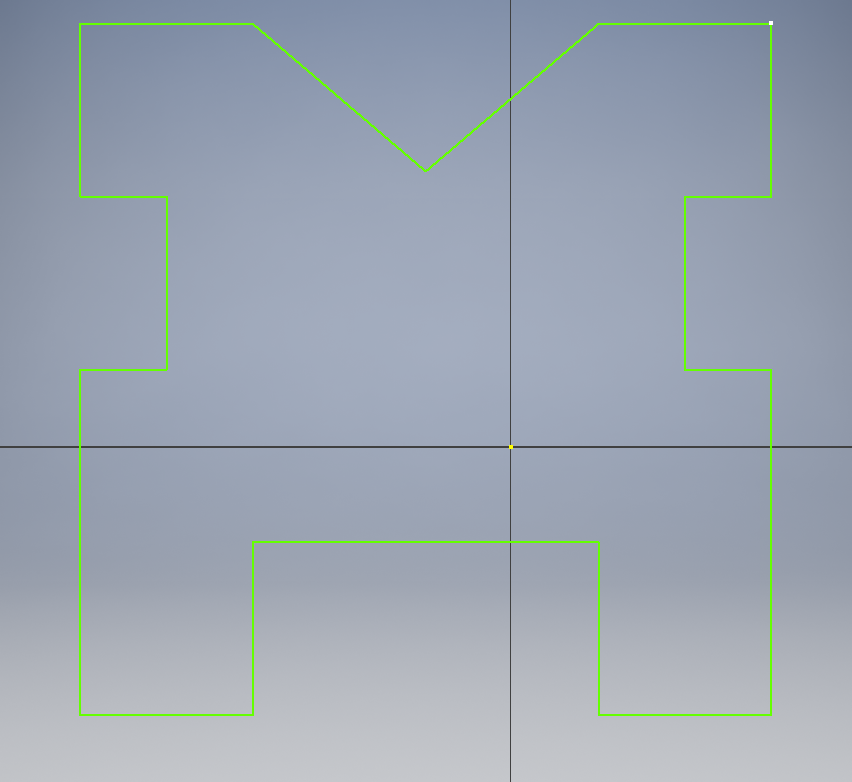
The first thing I did was use the line tool to make a 2D sketch of one of the faces of the widget. I did my best to make it look the same but didn't worry about dimensions.
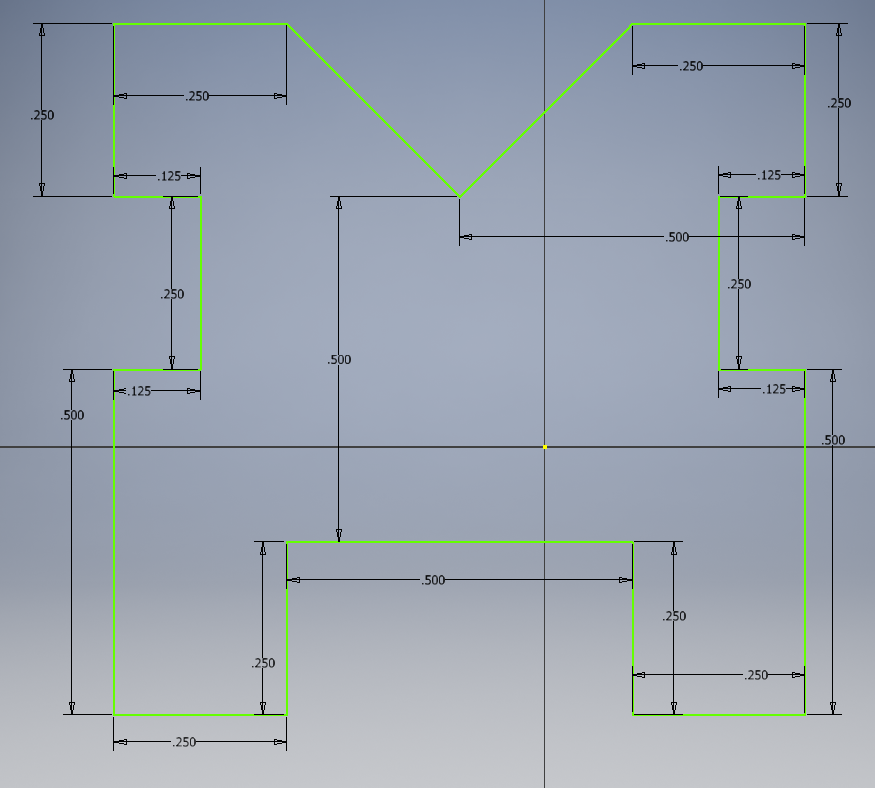
Then I added dimensions to all the sides. I made it so that triangle on the graph paper represented a quarter inch.
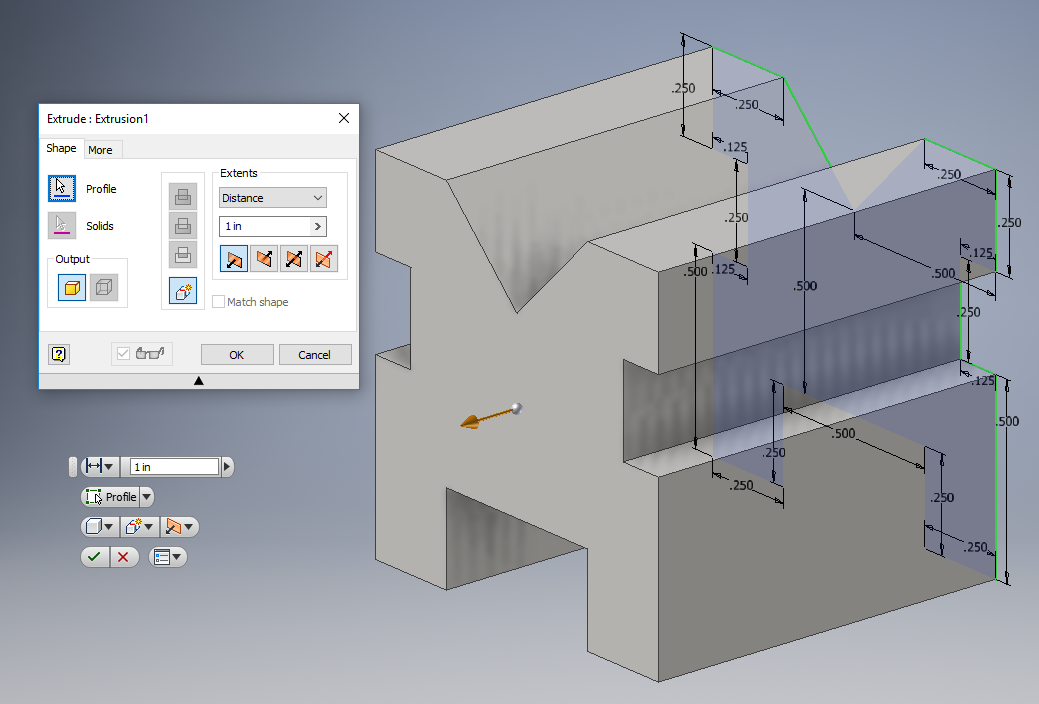
Next, I finished the sketch and extruded it 1 inch because that's how long the widget was
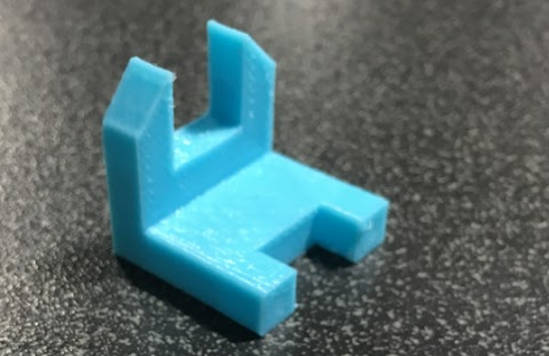
And that's how I got to my final widget
|
|
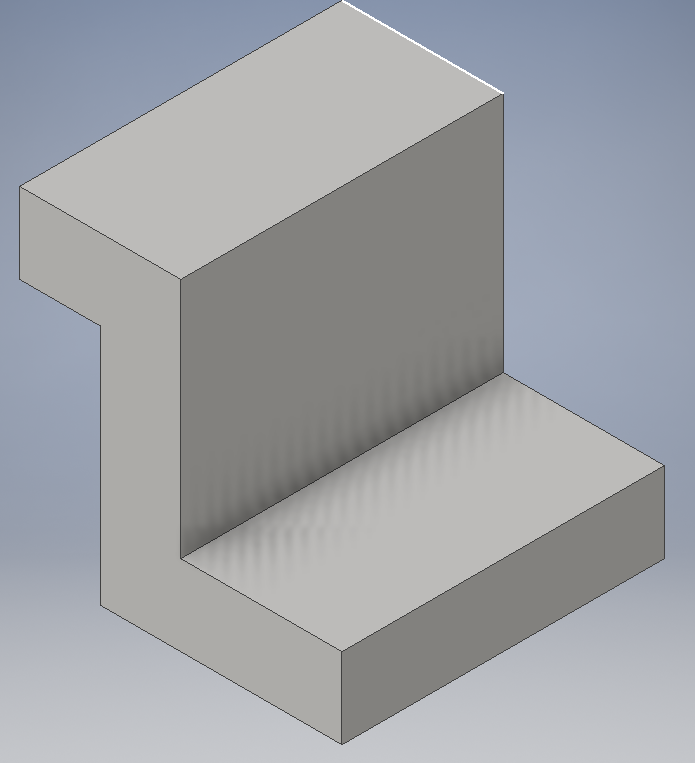
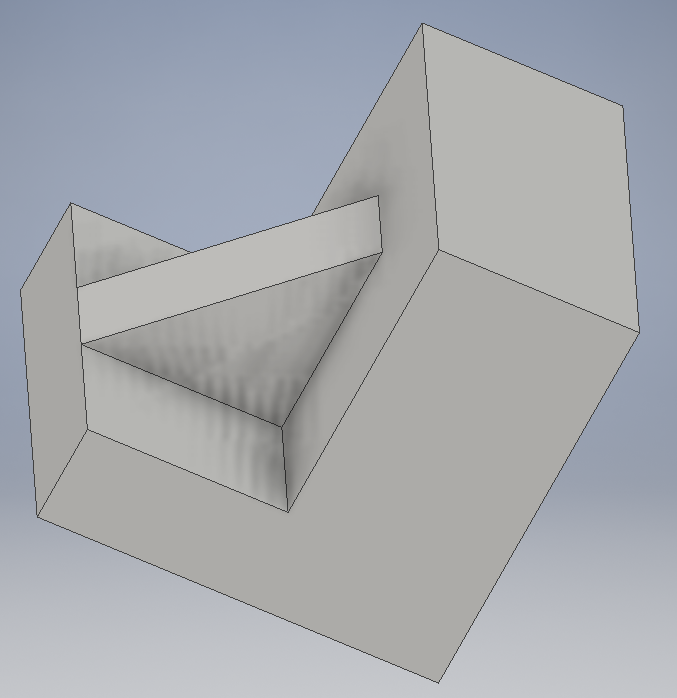
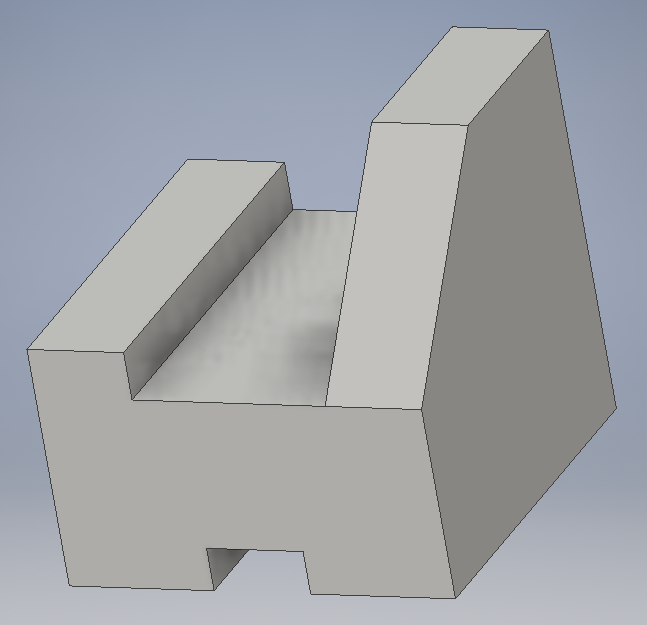
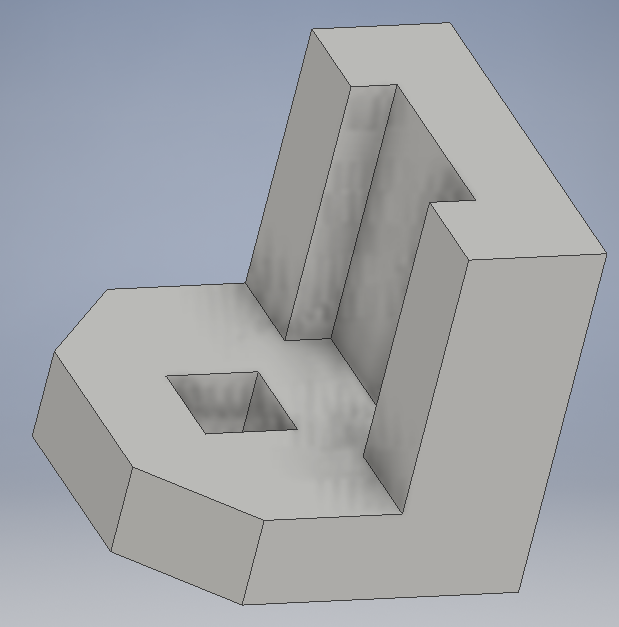
Other widgets...
|
|
|
|
|
Bringing my widget to life-3D printer
|
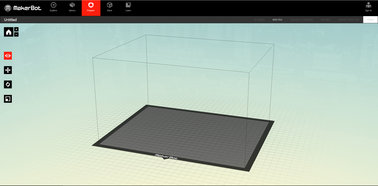
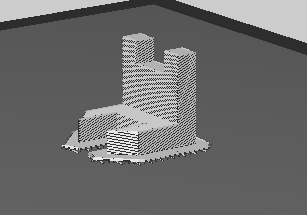
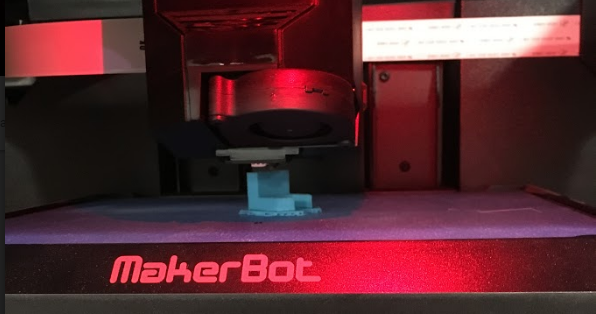
Once I had created the widgets in inventor, I selected one to print out on a 3D printer. To do this I opened my inventor file in maker bot. The transfer messes up the dimensions a little so I had to set the proportions to 1000%. From there I rotated my widget so when it printed it would sit on the platform with as little overhang as possible to ensure it would be a good print. To the right is a screenshot of the maker bot software as well as a print preview of my widget. The preview is covered in lines because it shows the layers that the printer will print one after another.
|
|
|
Once the widget was in maker bot I transferred it over to a thumb drive so I could bring it over over to the actually printer. It took about a half an hour to print total.
|
|
What I learned
Over the process of bringing my widget to life I learned many important skills for this class. I learned the basics of inventor and how to create basic 3D shapes, with specific dimensions. I also learned how to transfer my Inventor file into maker bot and place, resize, and rotate it so that it prints properly and there is minimum overhang. When looking at the print preview I learned how the printer prints one layer at a time and I can set it to fill different 100% of the inside of the object. In this case we had it set to only fill 10% to save on plastic.
