What?
After learning the basics of the software and how to use some of the machines, we split up into three groups. My group started the rotation at the laser. This includes creating a design in illustrator to be engraved on a water bottle, a design of the front and back cover of a 4.25" by 5.5" notebook and a design for a 3D object either from thing verse or created on illustrator. Then we have to cut all three of these prodjects out. Below you will find the start to finish process of each of these projects.
Engrave a water bottle
|
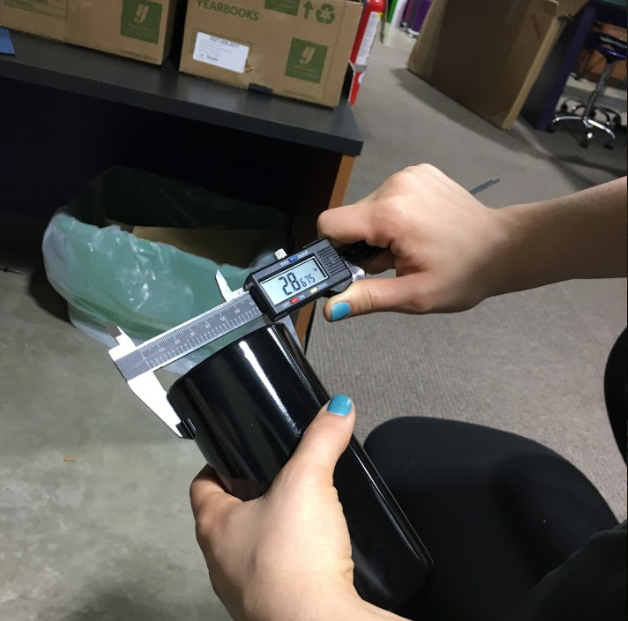
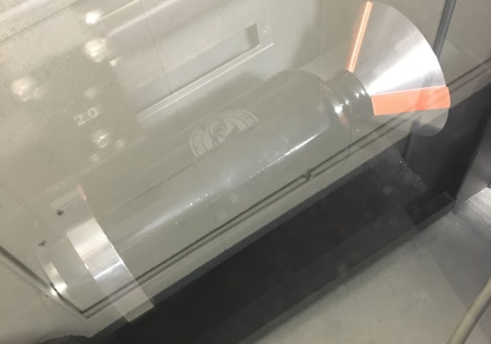
The first thing I did was take measurements of the water bottle. We can engrave all the way around the bottle so we need to find the surface area so we can create a design that fits. I took the diameter of the bottom and multiplied it by pi to get the circumference of the bottle. Then I multiplied it by the height of the bottle to find the surface area available to laser on. I used these measurements to create an art-board of the same size on illustrator.
|
|
|
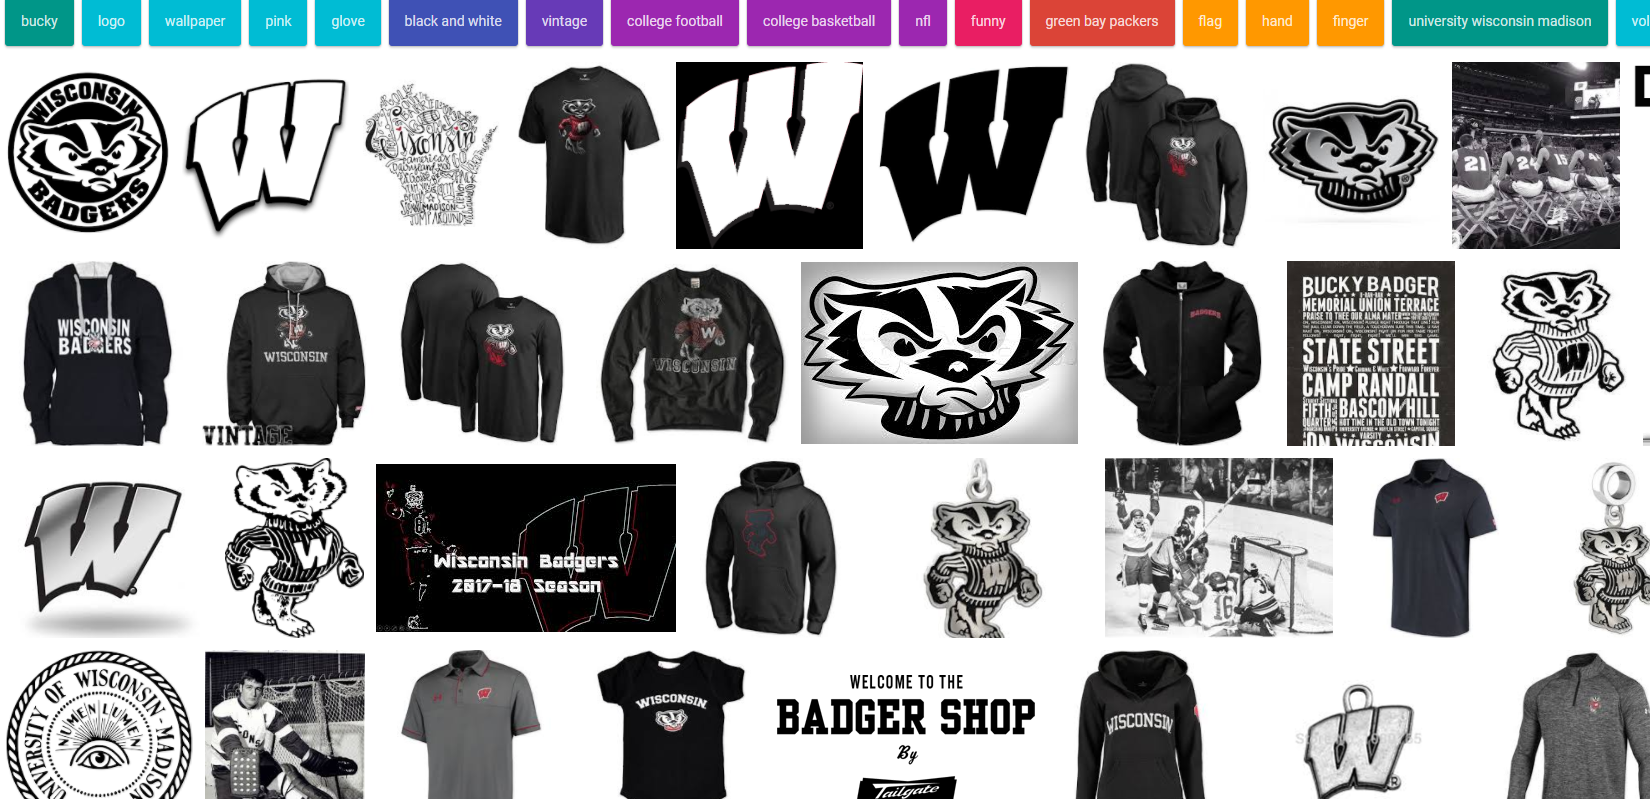
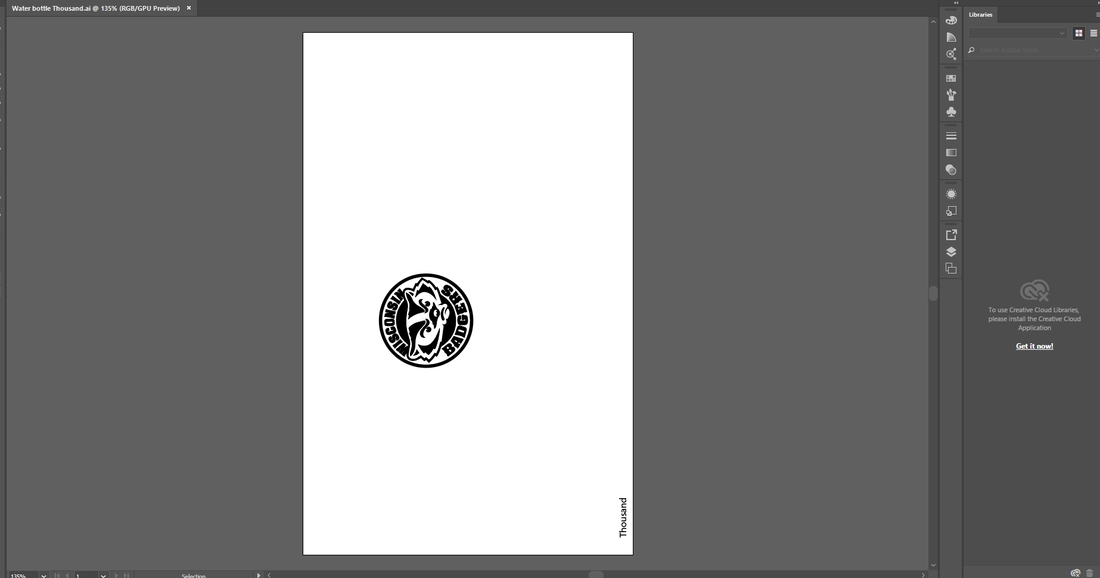
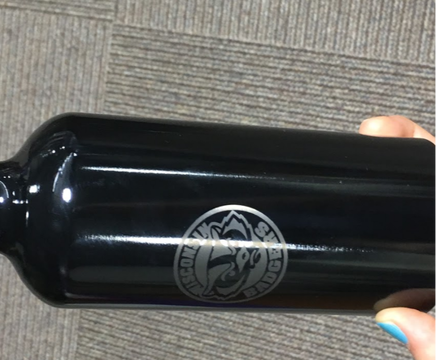
Then I decided to make it Wisconsin badger themed because that is where I want to go to college. I surfed the web for a black and white clip art logo to use because those type of pixel pictures are the easiest to convert to vector files in illustrator. I found a logo and placed it on my art-board, traced and expanded it to make it a vector file and put it centered on my bottle. I left it black and white because I just want the laser to engrave it, not cut all the way through. If it cut all the way through my water would leak everywhere. I also added my last name in the bottom corner so no one else could take it.
|
|

|
|
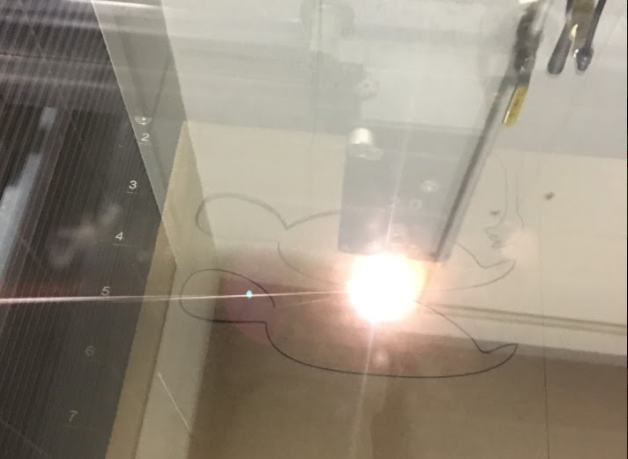
Next I put my illustrator file on a flash drive and headed down to the laser. Since the water bottle is a cylinder instead of a flat object I had to use the rotating attachment for the laser instead of the honey comb flat bed. I opened my file on the laser computer and set it up to print correctly and pressed play. The rotating attachment spins so the flat illustrator file doesn't get distorted when printed onto a curved surface.
|
|
|
|
Front and back of a notebook
|
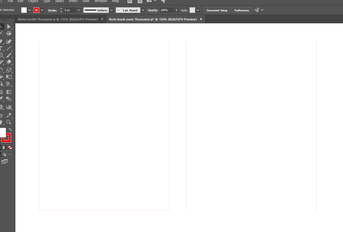
The first thing I did for this project the first thing I did was create a 32" by 18" art-board on illustrator, this is the size of the laser bed. Then I placed two 4.25" by 5.5" with a 0.0001 pt red outline, these are the front and back covers.
|
|
|
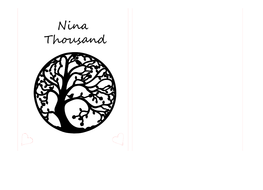
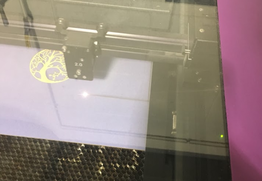
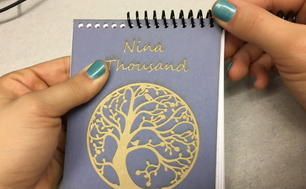
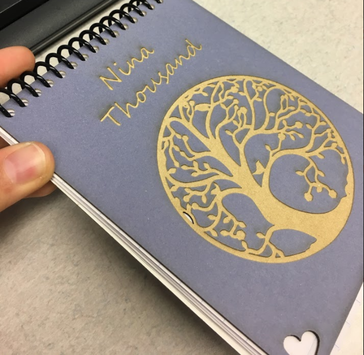
Then I decided to make the notebook for my mom so I put her name across the top and a tree in the middle because she loves plants and finally I put two hearts in the bottom corners. I made the tree and her name black so the laser would know to engrave them but I made the outline of the hearts .0001 pt red so the laser would cut them out of the bottom corners. Then I put the file on a flash drive and headed to the laser. I cut it out on a purplish mat board that is tan under the fist layer so the engraved stuff looks tan.
|
|

Next I used the paper cutter to cut out 40 sheets of paper to put into the note book. Then I used the binding machine to punch holes in both the covers and the paper. Then I twisted in a plastic spiral to hold it all together.
3D object
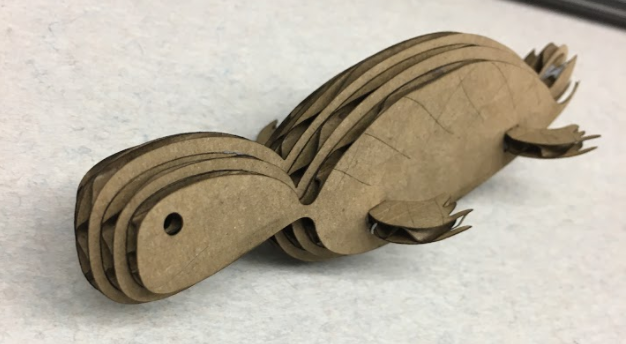
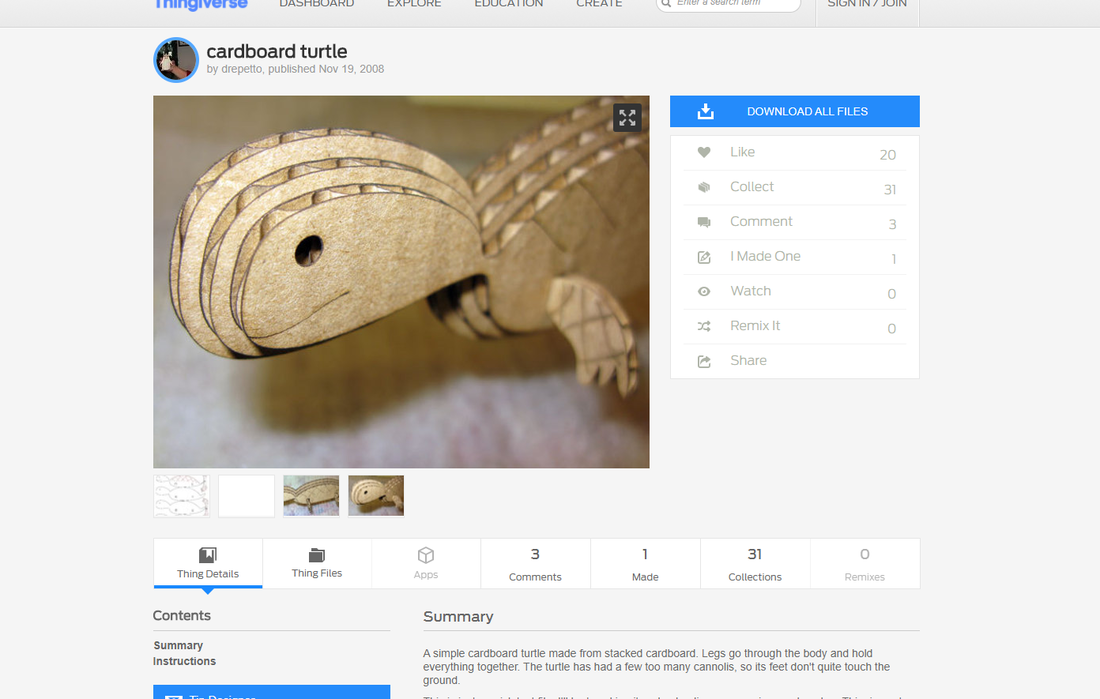
For this piece of the assignment, we had to create 3D object that we use the laser cutter to cut out the pieces for. We could either create our own file or use a file from thing verse. I took the easy way out and used a file from thing verse.
|
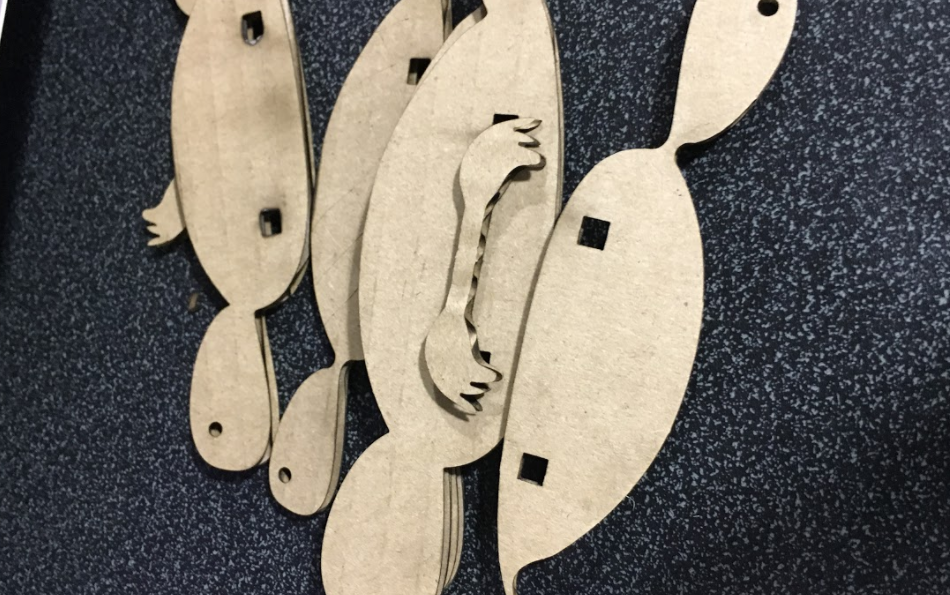
I decided on a little turtle. I first opened the file from thing-verse then place the pieces from that file onto my own art-board that is the size of the printer bed, then I resized the pieces to the size I wanted.
|
|

|
Then I headed down to the laser and cut out all the pieces on. After that all I had to do was use a little glue to put all the pieces together and I was left with a turtle.
|
|